Beyond Standard Wood Stain: Custom Floor Colors & Finishes
In this article 10 sections
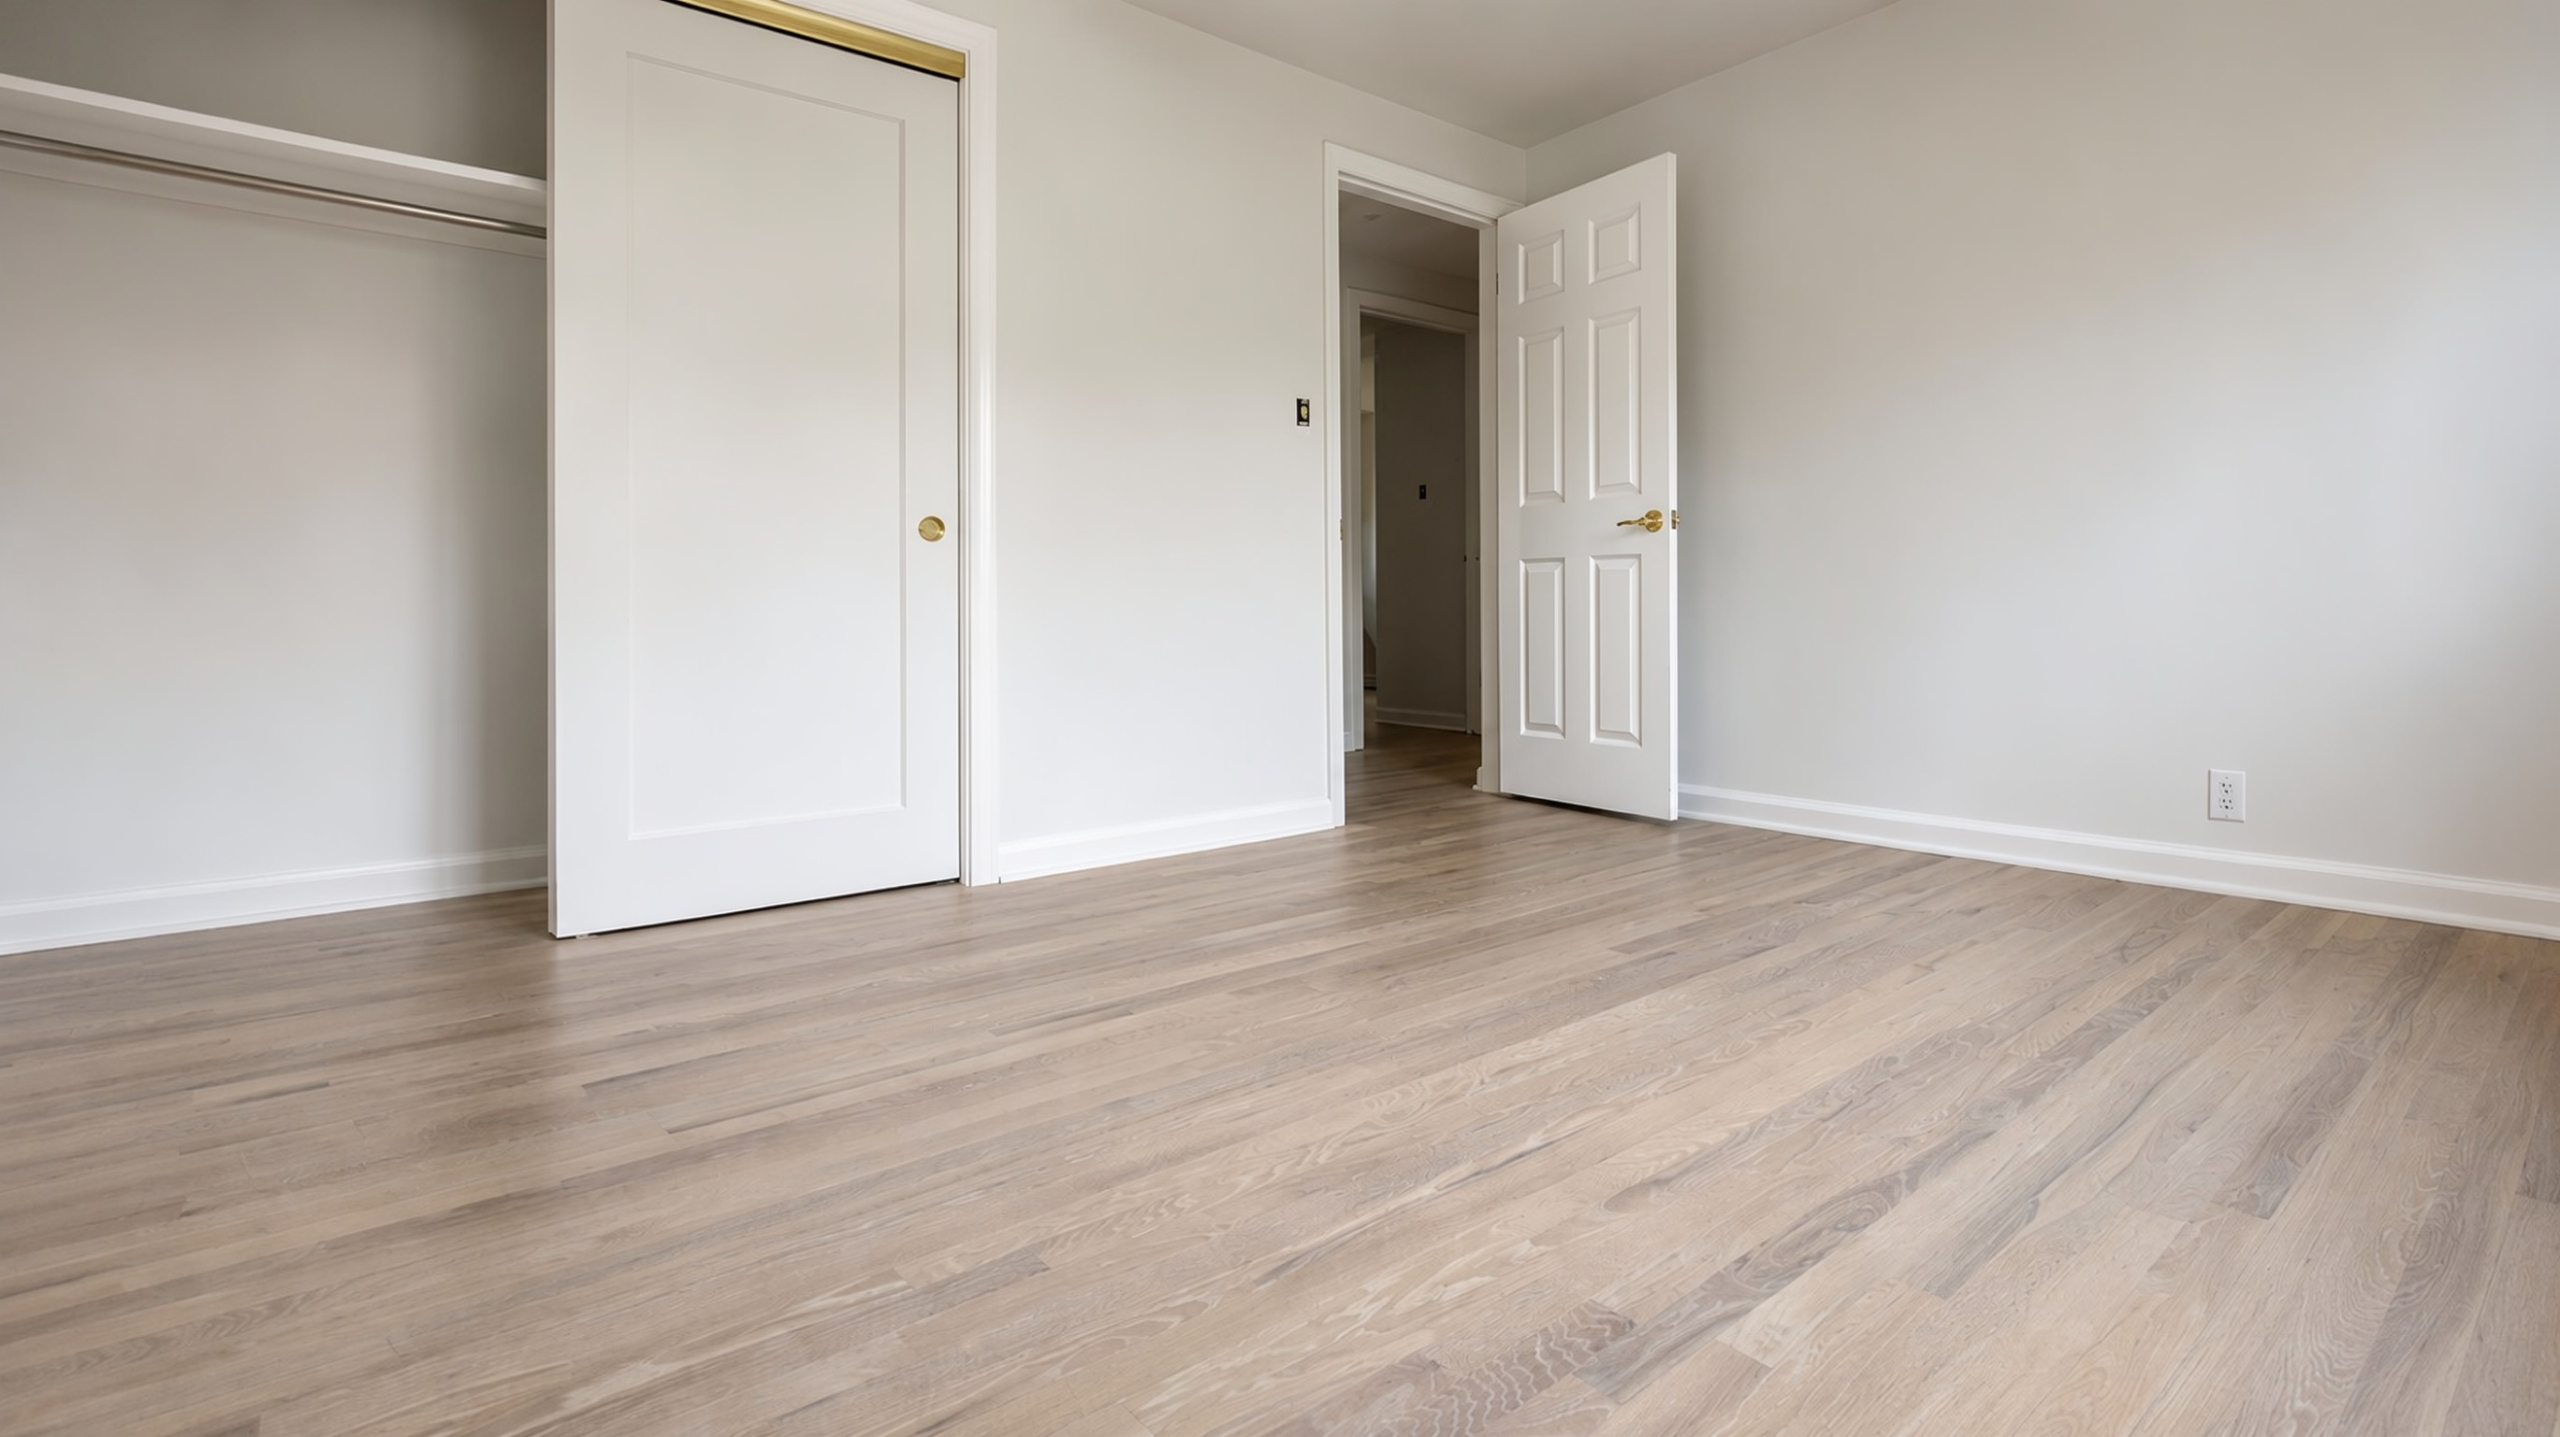
Most people start with a stain chart, and that is exactly where we usually start too. From there, we narrow the options to a few colors that seem close, put them on the wood, and see what the floor has to say about them.
Sometimes one of those standard colors works right away. Sometimes it is almost right, but red oak makes it warmer than expected, the room makes it look too dark, or it does not sit well next to the cabinets. And sometimes the reference floor has depth or grain contrast that a single stain cannot produce.
That is when we begin talking about custom mixing, layered colors, colored oils, or reactive treatments. The names can sound complicated, but the basic question is simple: what is the most reliable way to create the right look on the actual wood?
A Standard Stain Is Often the Right Answer
There is nothing basic or second-rate about using a standard stain color. We use both Bona and DuraSeal stains, and their established colors are popular for a reason: many coordinate easily with common cabinet finishes, furniture, trim, and wall colors. On many floors, one of those colors is already the right answer.
We do not add extra color steps just to make a project sound more custom. If an established color produces the right look, the simpler system is usually easier to apply, document, and reproduce if a repair is ever needed.
The catch is that the color square is only a reference. A Bona or DuraSeal color on a chart will not look exactly the same on red oak, white oak, and maple. It will also look different in a bright west-facing room than it does in a hallway. Use the Bona stain chart and DuraSeal stain chart to find a direction. Do not make the final decision from a screen.
When a Custom Stain Mix Makes Sense
Custom mixing blends two or more compatible stain colors before they go on the floor. It is usually the most straightforward way to adjust a familiar stain look.
Maybe a brown needs a little gray so it feels quieter. Maybe a pale neutral needs more warmth beside the cabinets. We might also soften a very dark Ebony direction or develop a closer visual relationship between a new floor and stairs that are staying in place.
The important word is coordinate. We can work toward a close, intentional match, but natural wood will not behave like a printed surface. Age, sunlight, sanding, and board variation all affect how a mix appears. That is why we judge it on real wood instead of comparing stain names or a photograph on a phone.
Layered Color Is Different From a Custom Mix
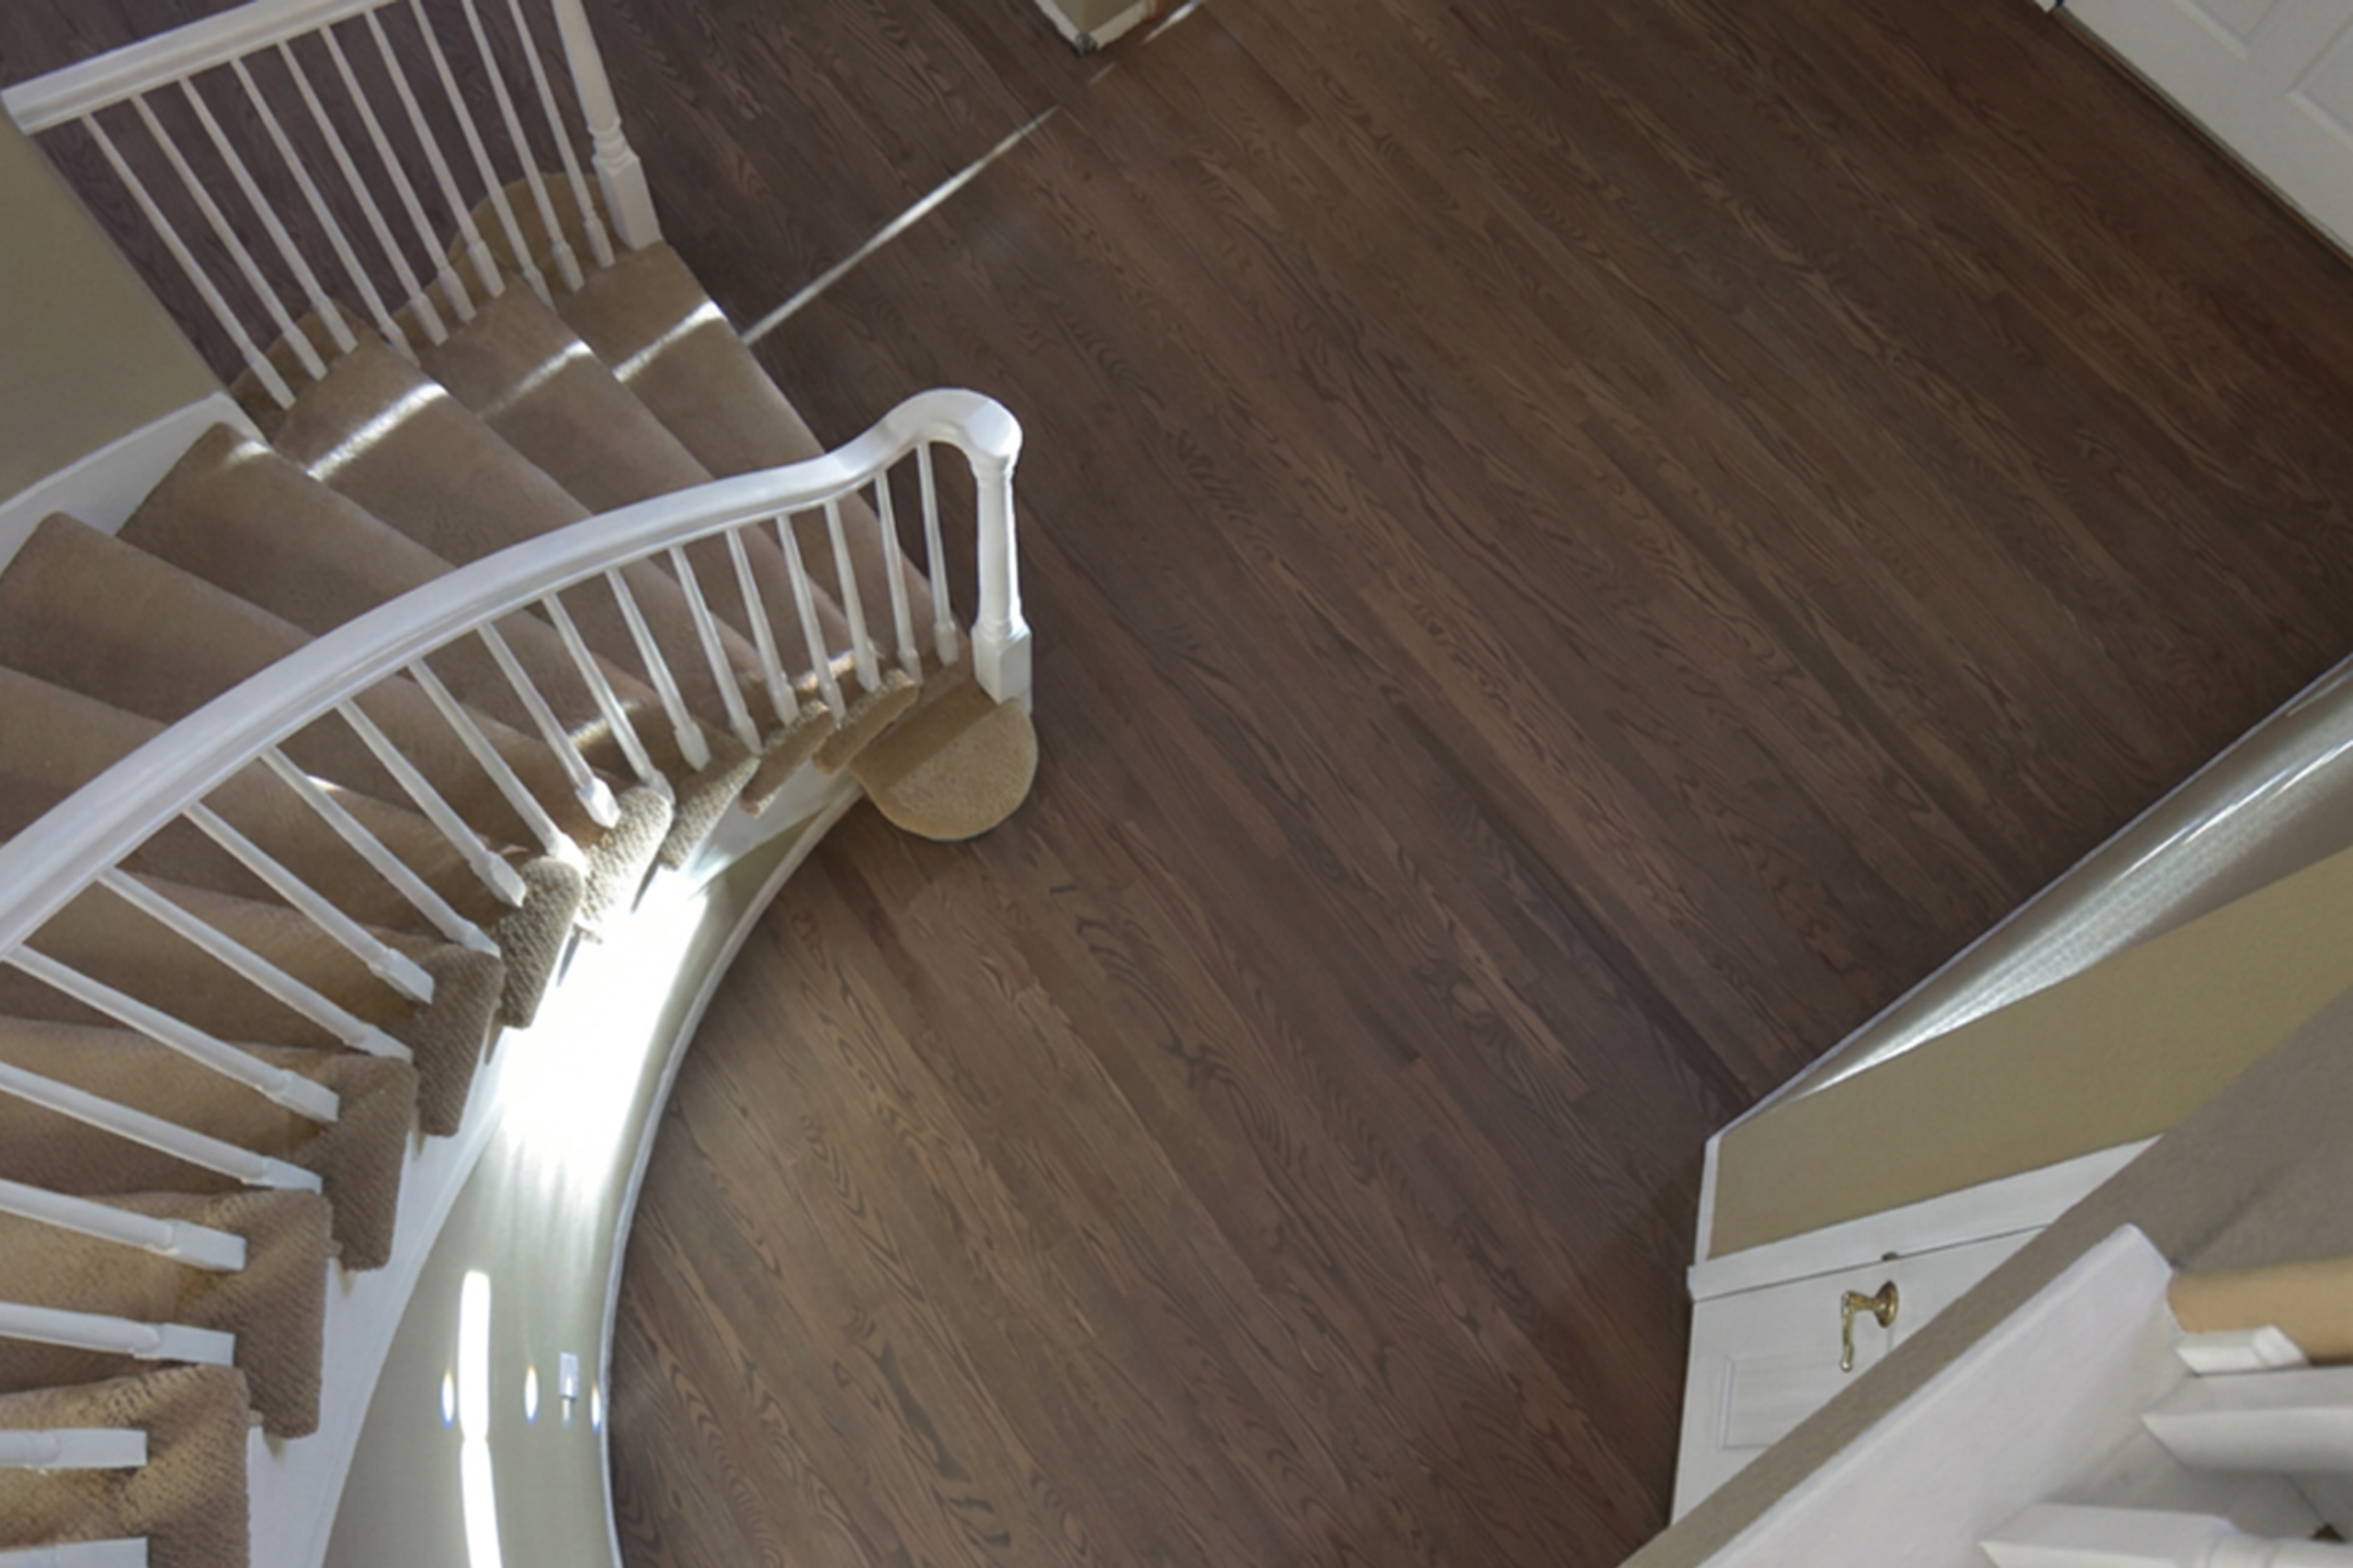
Mixing two stain colors still produces one applied color. Layering works differently: it puts compatible colors on the wood in separate steps.
The first step might change the background or calm an undertone. A later color can remain more visible in the grain or add another dimension. When the layers are subtle, the result does not necessarily read as “two colors.” The floor simply has more movement and depth than a one-step stain would produce.
LOBA pre-colors with a compatible oil are one example of a layered system. Bona Craft Oil 2K and PALLMANN Magic Oil 2K Color provide other colored-oil options. The brand is secondary; the preparation, color steps, and protective finish all have to work together.
Putting one product over another because the colors look good separately is a good way to create drying, adhesion, or color problems. Before we consider a layered schedule for a floor, we test the complete schedule, not just the first color.
What Does “Cerused” Actually Mean?
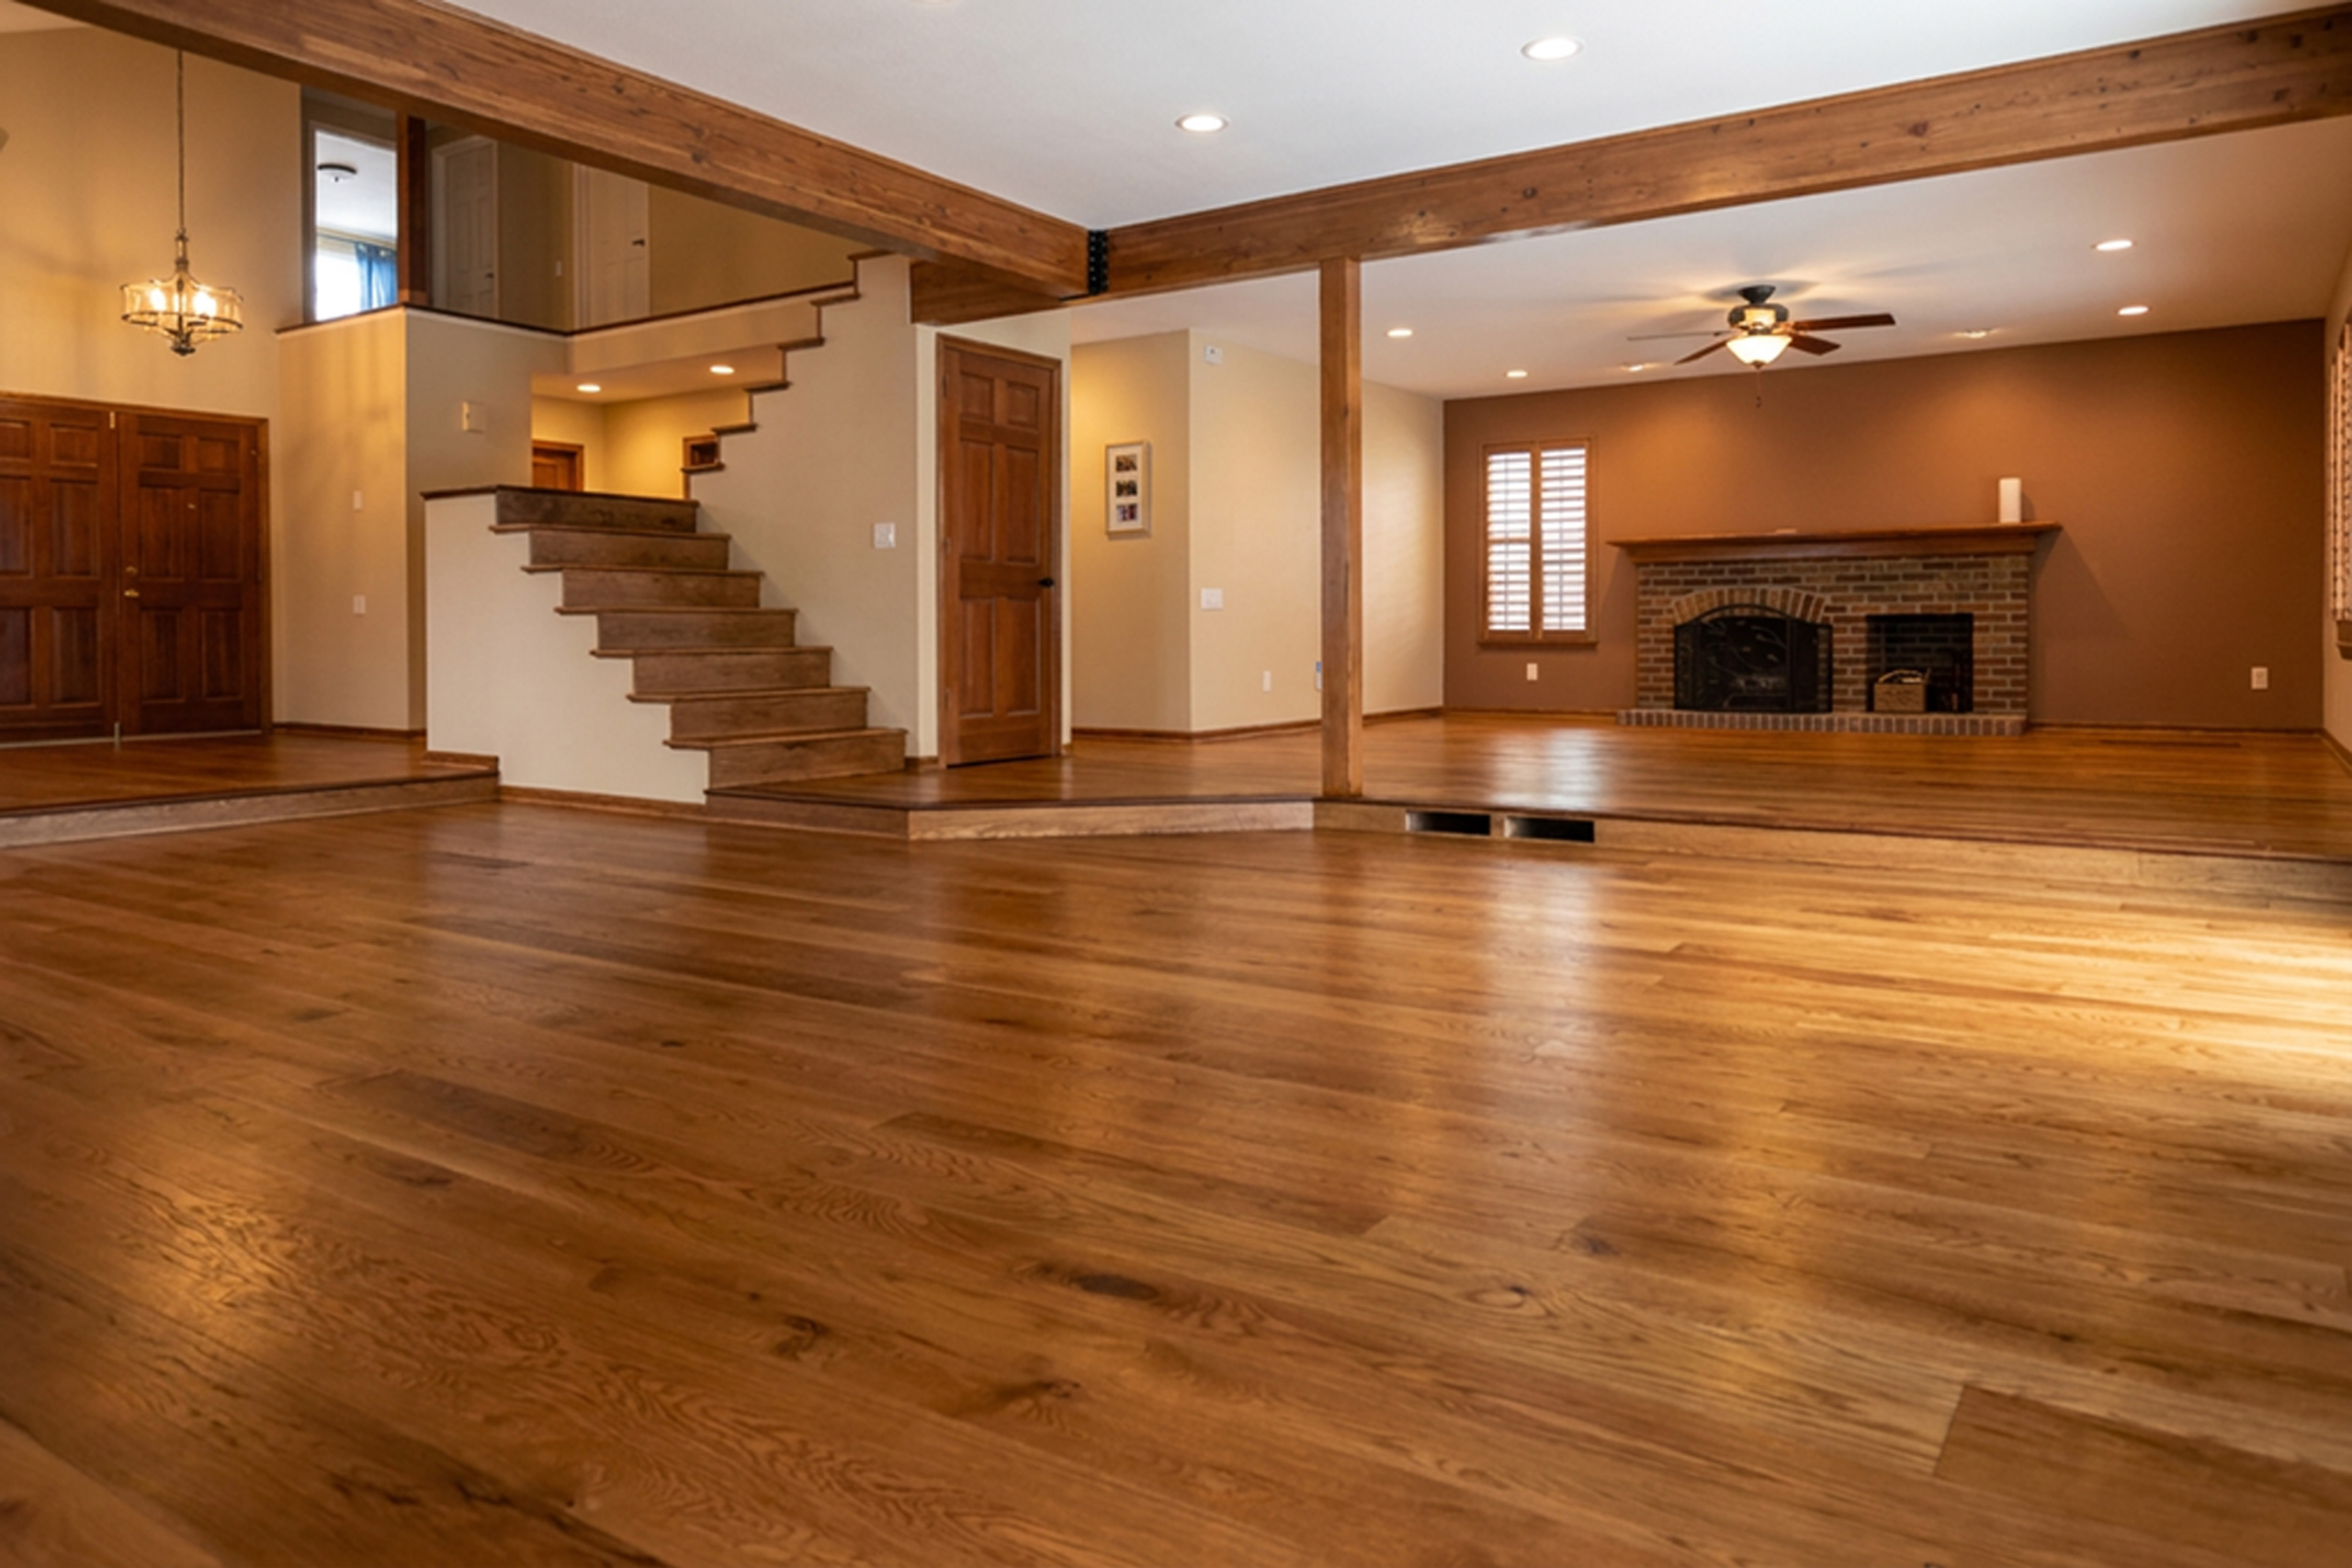
The word cerused is often used to describe any floor with lighter grain against a darker background. That describes the appearance, but true cerusing is a specific grain-contrast process.
A classic example is oak with a darker body color and pale grain, but cerusing does not have to be black and white. The contrast can be much softer, and the main color can remain close to natural. Open-grained woods are the best candidates; tight-grained woods such as maple do not produce the same effect.
On an open-grained wood such as oak, a contrasting color is worked into the pores. Wire brushing can make the grain more pronounced, but it also adds physical texture to the floor. A lightly grain-emphasized floor and a heavily textured cerused floor are not the same result.
Reactive and layered treatments can sometimes produce the contrasting grain appearance associated with cerused floors, although the process is different. We think it is important to use the right name, especially when the goal is to reproduce a reference photo.
Reactive Color: Letting the Wood Participate
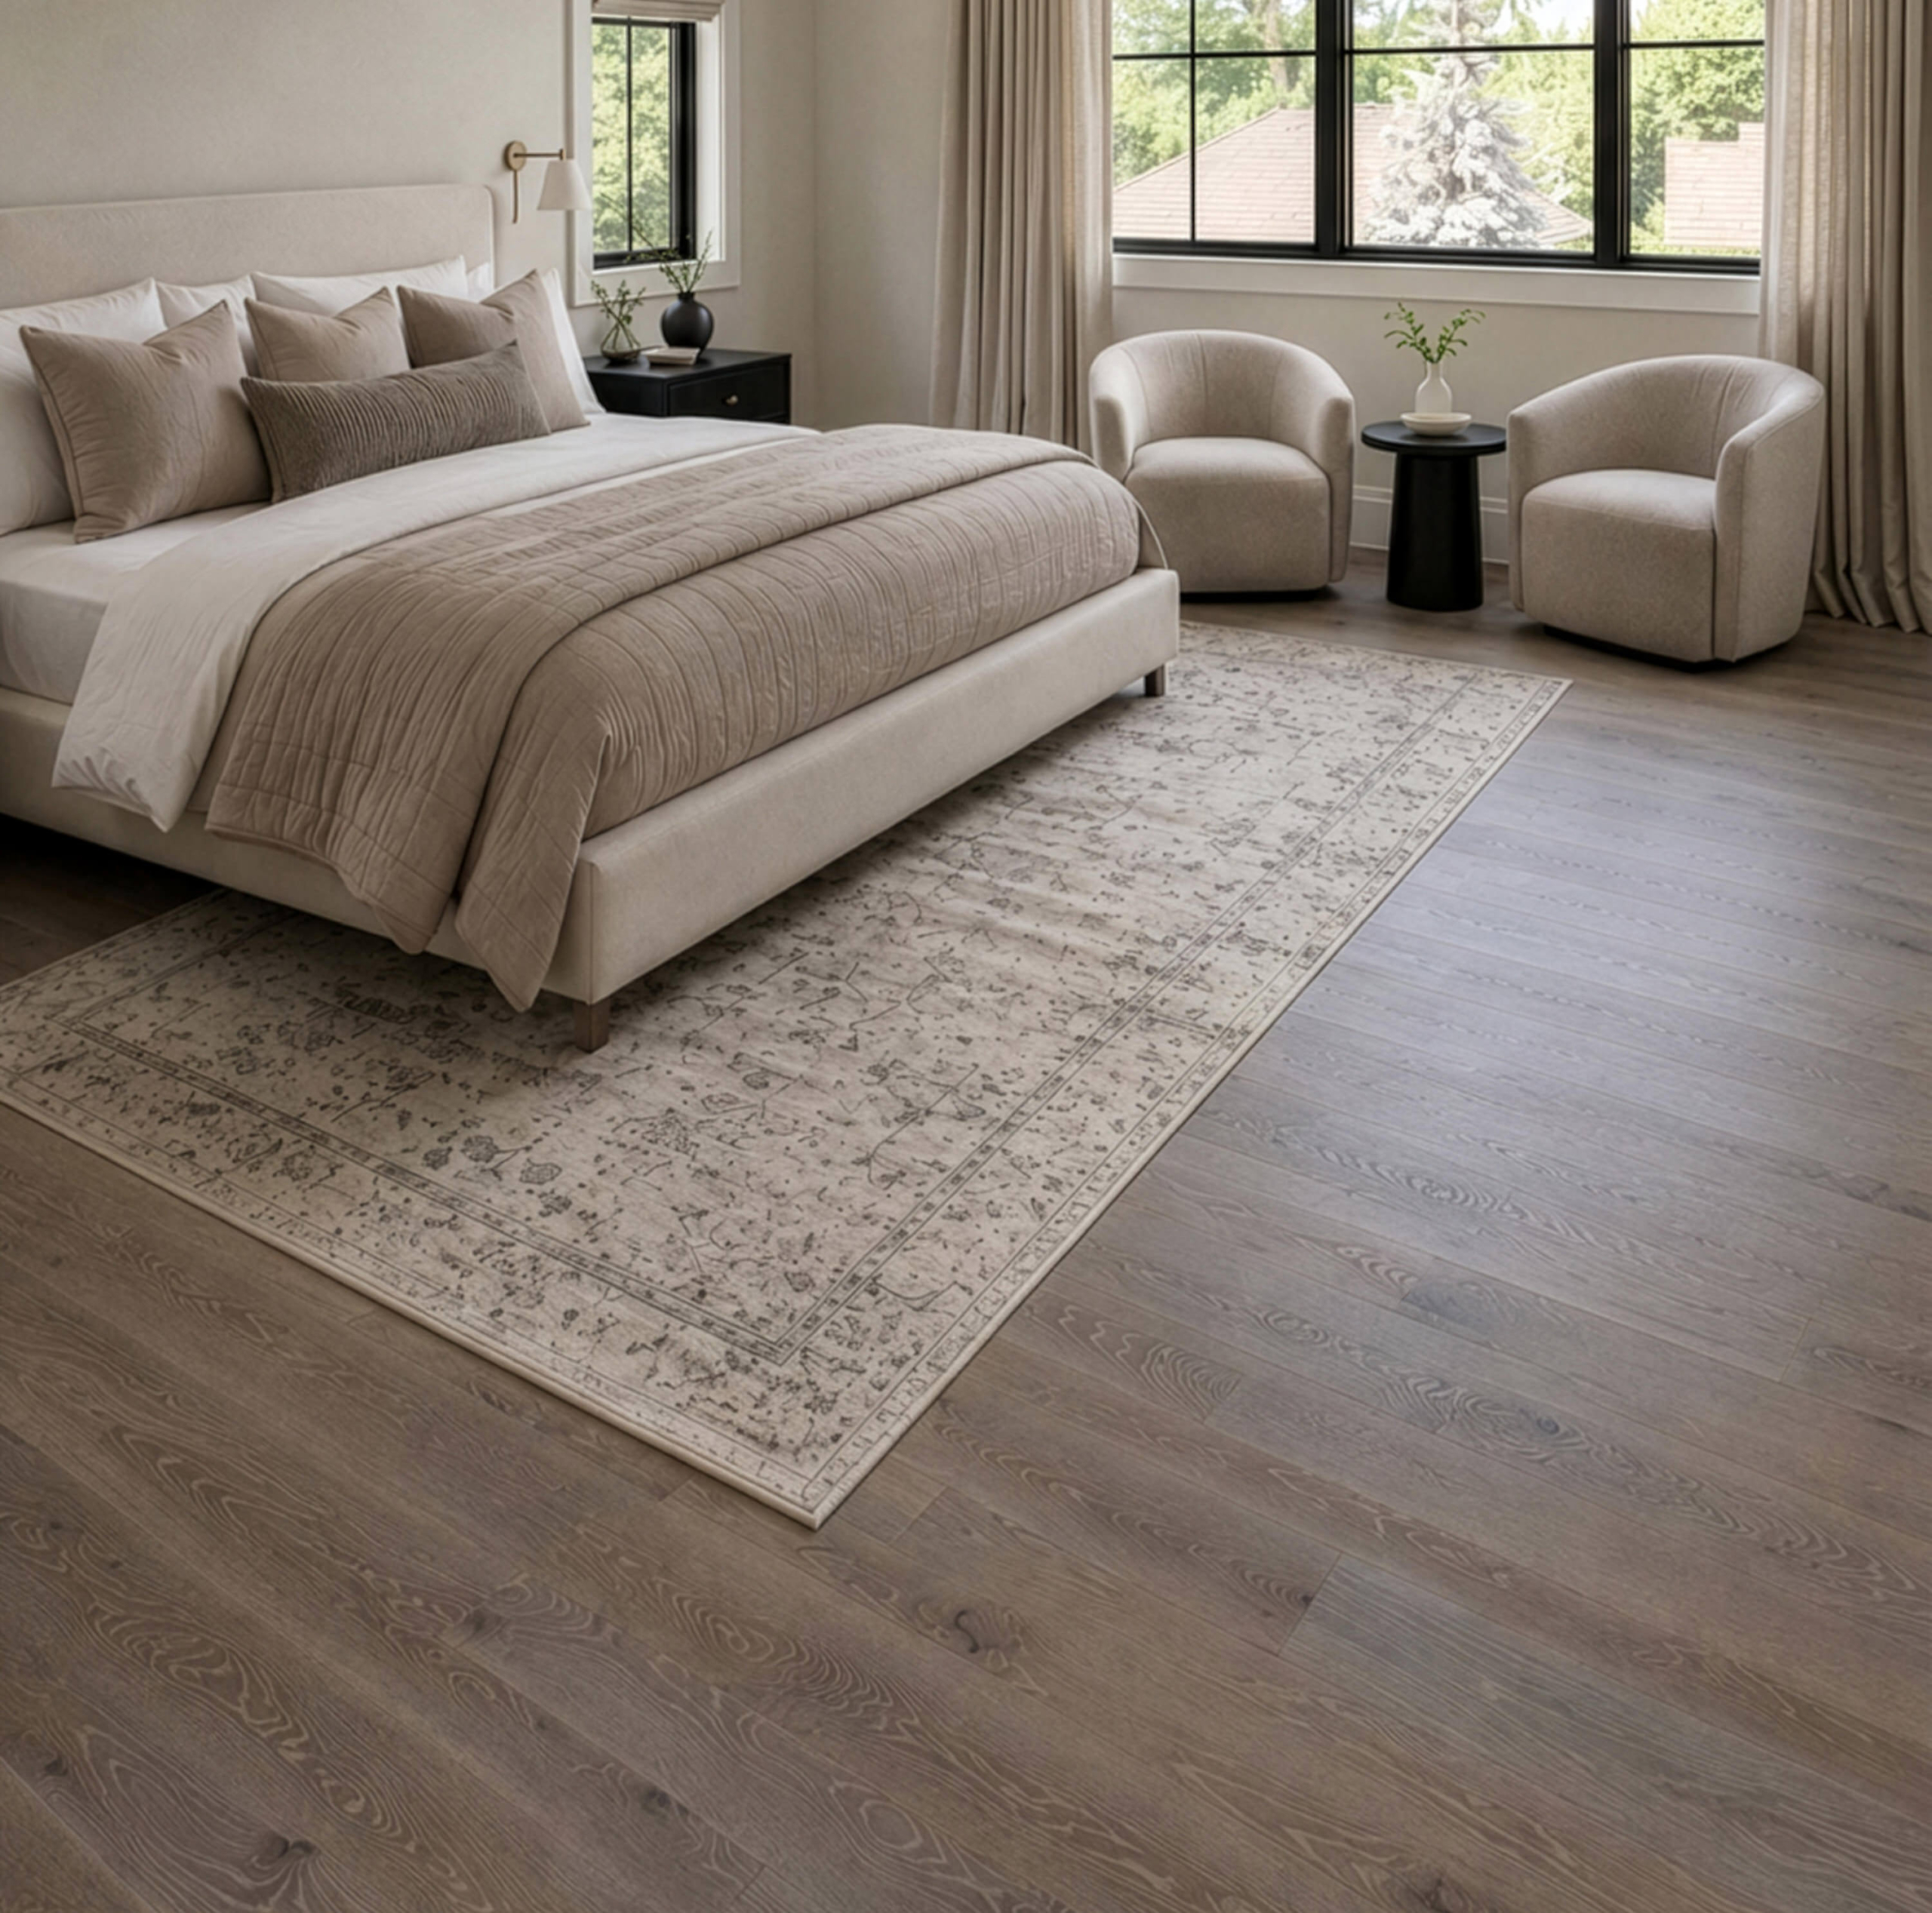
A conventional stain adds pigment or dye. A reactive treatment changes color by reacting with substances already in the wood, especially tannins. That means the wood helps create the result.
This can produce smoked grays, aged browns, weathered tones, and strong natural variation. We have used a reactive color step on white oak, including this Fumed and Smoke project. The variation is part of what makes the floor interesting.
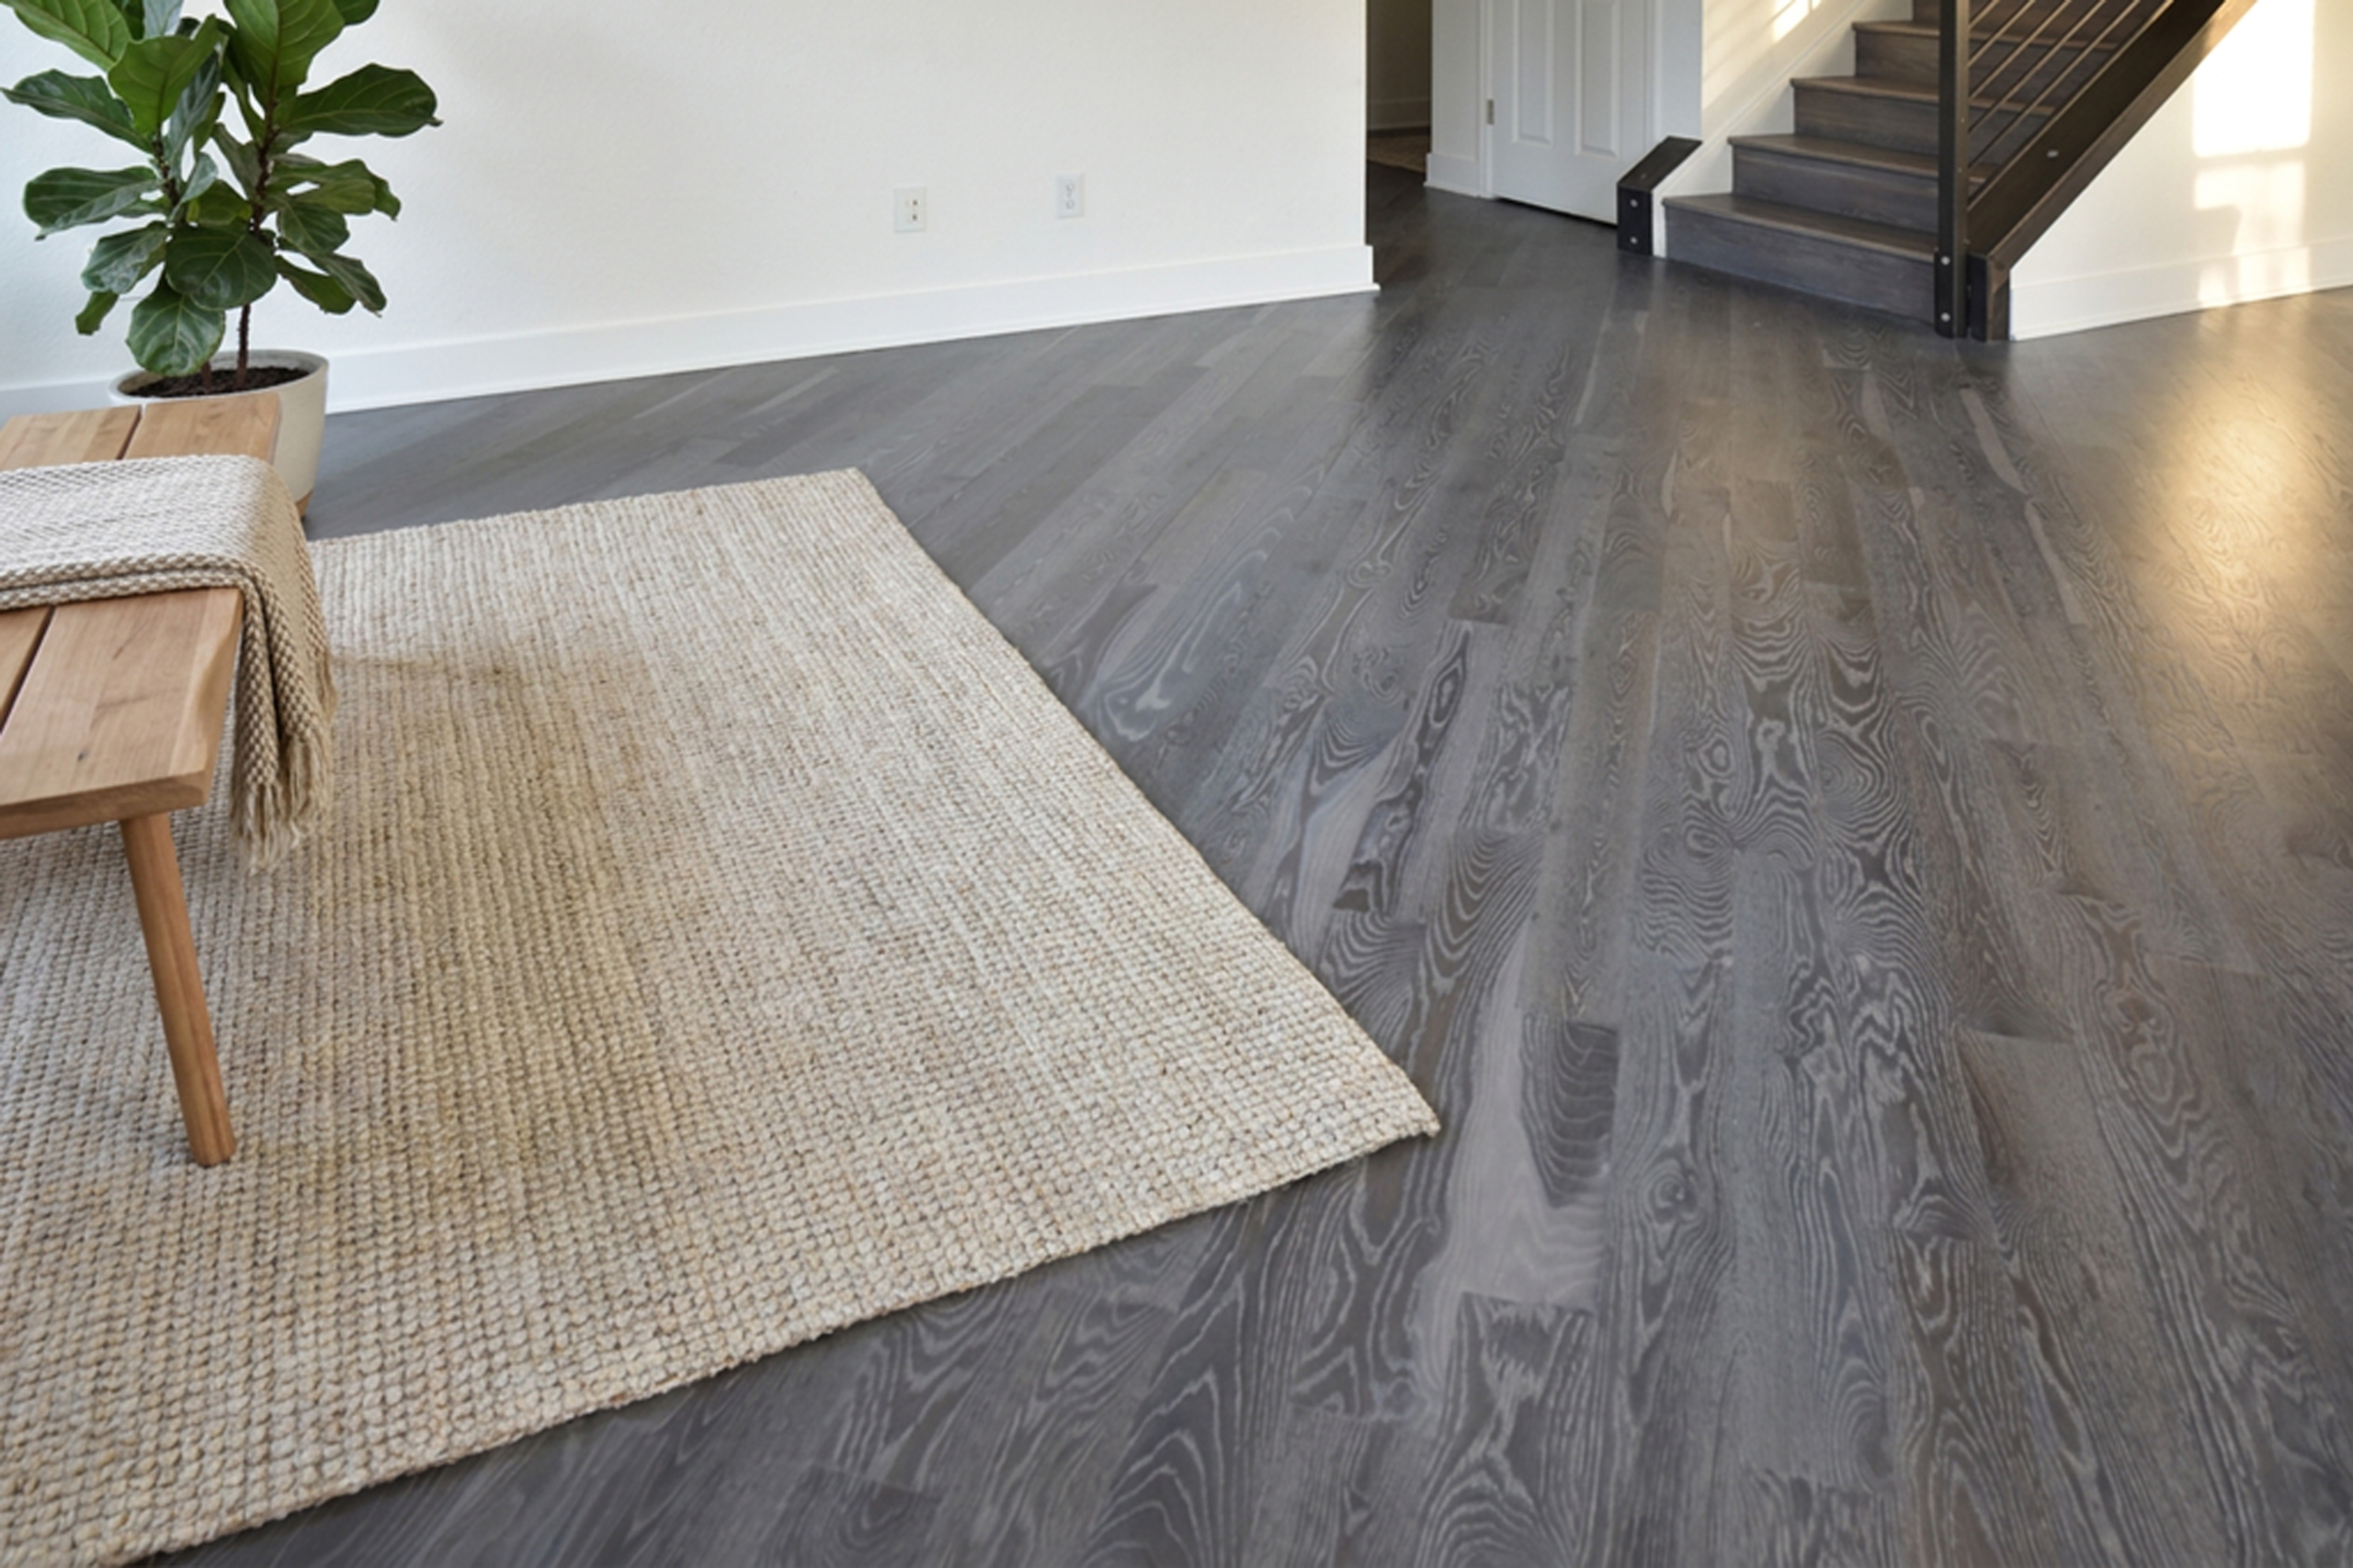
Reactive color is also a poor fit for a nearly uniform floor. Tannin levels vary. Sapwood, repair boards, and different batches of flooring may react differently from the boards around them. We need to see that behavior in samples before deciding whether it fits the project.
One terminology note matters here: the reactive step usually creates the color. It is not necessarily the complete protective finish. It still needs a compatible oil or coating system over it.
Ebonizing Is Not the Same as Black Stain
Black stain and true ebonizing can both create a very dark floor, but they get there differently. A black or Ebony-named stain adds pigment and usually gives us more control over how dark and even the result becomes. True ebonizing uses a reaction, commonly involving iron and tannins, to darken the wood itself. The result can range from gray or brown-black to a much deeper black.
Neither process is automatically better. For a controlled charcoal or black floor, a custom stain mix may be the more practical answer. For the natural variation of a reaction, true ebonizing is a separate specialty process that has to be tested and named accurately. We do not call a floor “ebonized” simply because we used an Ebony-colored stain.
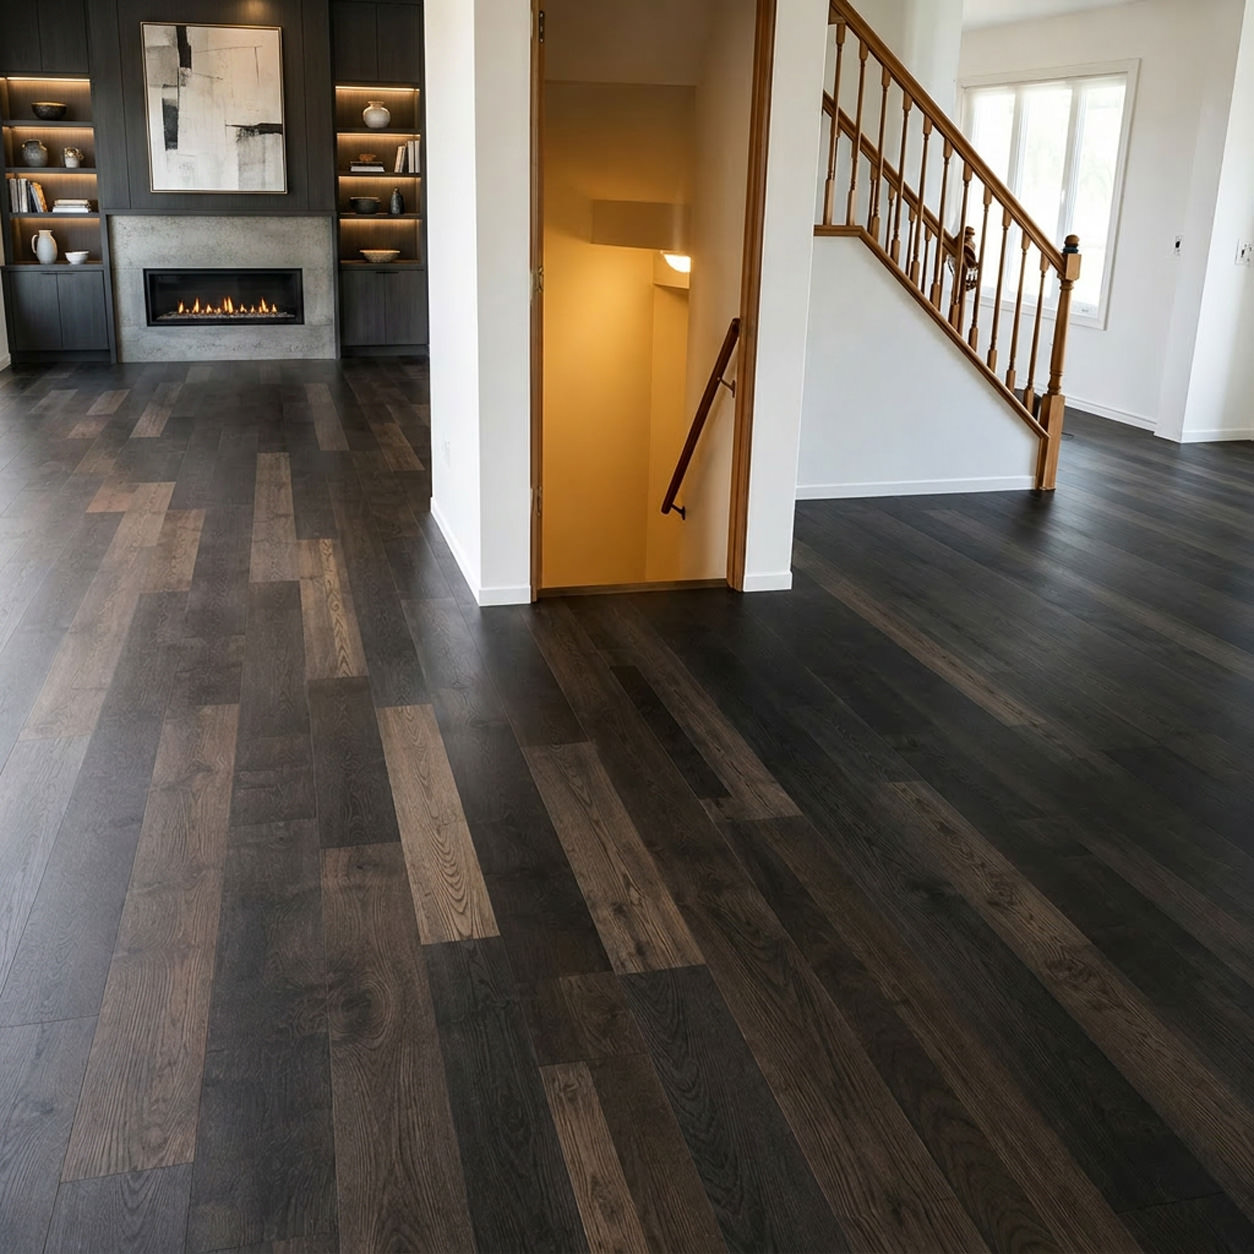
There is also a practical side to very dark floors: they tend to show dust, scratches, pet hair, and light-colored debris more readily. We would rather talk about that before the darkest sample is approved than after the floor is done.
Where Colored Oils Fit In
With a traditional system, stain supplies the color and a separate coating protects it. A colored penetrating oil or hardwax oil becomes part of both the appearance and the finish system, often leaving the wood looking and feeling more natural than a heavier film-forming finish. Compatible pretreatments can also be used to build layered effects.
The maintenance is different, so we do not choose an oil system on appearance alone. Before recommending one, we also talk about how the room is used, how the floor will be cleaned, and what future refreshing or repair will involve. Our hardwood floor finish guide explains more about that side of the decision.
The Wood Species Still Makes the Decision
We can save a formula, but we cannot separate that formula from the wood beneath it.
- Red oak has open, active grain and warm pink or red undertones. A neutral color can look noticeably warmer once it goes on the floor.
- White oak usually starts calmer and browner, with tannins that can make it a strong candidate for reactive and grain-contrast effects.
- Maple is tighter-grained and can absorb traditional pigment stain unevenly. A method that works beautifully on oak may be the wrong approach.
- Walnut and other naturally dark woods already have strong color and board variation that can disappear under a heavy stain.
This is why copying a photo is rarely as simple as finding the product name. A finish shown on European white oak will not automatically look the same on an existing red oak floor in Denver. The more useful question is: “What process could create a similar feeling on this particular floor?”
Samples Are Part of the Work, Not an Extra
With a standard stain, two or three samples may be enough. Specialty colors usually need more development because changing one layer can affect everything that follows.
Our standard practice is to make color samples on the actual floor after it has been sanded. Loose-board samples are a rare exception, usually when colors need to be considered well in advance or the people making the decision will not be present when the floor work begins. A separate board can help establish a direction, but its species, age, grain, and preparation may differ from the installed floor.
We review the floor samples in the room because morning light, evening light, and an interior hallway can change how the same color reads.
The sample might include the intended topcoat or oil. A clear finish can warm, deepen, or otherwise shift the color, so unfinished stain does not always show the final result.
A sample gives us a target, but color does not stay frozen in time. Stain can look one way when it is first applied and different after it dries. The finish changes it again, then the appearance settles as the finish cures. Sunlight and normal aging continue to change the floor over the years. That is why we focus on getting the direction, depth, and overall balance right instead of chasing a shade that only exists at one moment.
Once a custom sample is approved, we record the formula and application process. Consistency comes from repeating the same sanding, mixing, timing, color steps, and finish, not from remembering two color names.
The approved sample gives us a target, but individual boards will still vary. The goal is a floor that feels intentional as a whole while still looking like wood.
Start With the Result, Then Choose the Simplest Good Process
The best approach is to begin with the desired appearance and the actual wood. With an inspiration photo, the warmth, background color, grain contrast, variation, and texture are more useful than the label attached to the image.
From there, we choose the least complicated process that produces a convincing, repeatable result. Sometimes that is a standard stain. Sometimes it is a custom mix, layered color, or reactive treatment. More steps are only worth using when they improve the floor.
For projects that need something beyond a stock color, see our custom hardwood floor coloring and specialty finish services. Send us a reference photo and a few pictures of the existing floor, and we can start by figuring out what is realistic for the wood.
Comments